Those who work on large enterprise .NET applications, I’m damn sure that you convert your objects from view model to domain model and vice versa. And sometimes, you may wonder why I’m duplicating this code in some of the files and also we love to do smart work than hard work. And also we are lazy and don’t want to write code that does A.x = B.x.
So here comes AutoMapper to make you even lazier. Hereafter, you don’t have to map models manually, just make use of AutoMapper which is an object-object mapper. If it’s a small project, you can just initialize your mapper configuration and just start mapping the models. If it’s an enterprise-level application, you can create a profile (i.e DomainToViewProfile, ViewToDomainProfile) and you can access it throughout the project. And till now it has 44,272,378 downloads from the NuGet Gallery.
Why AutoMapper?
Searching for reasons to use AutoMapper? Here are some of the strong reasons that are needed to explore about AutoMapper.
- Come on its 2K19, mapping code is boring.
- Duplication of code can be avoided.
- You can also reverse map the objects.
- It will increase your productivity.
- Check for configuration validation.
- It is not necessary that source and destination models need not be the same.
- Conditional Mapping etc.
Supported Platforms
AutoMapper loves to run in the following platforms such as,
- .NET Framework 4.6.1
- .NET Standard 2.0+
- .NET Core
How to use AutoMapper?
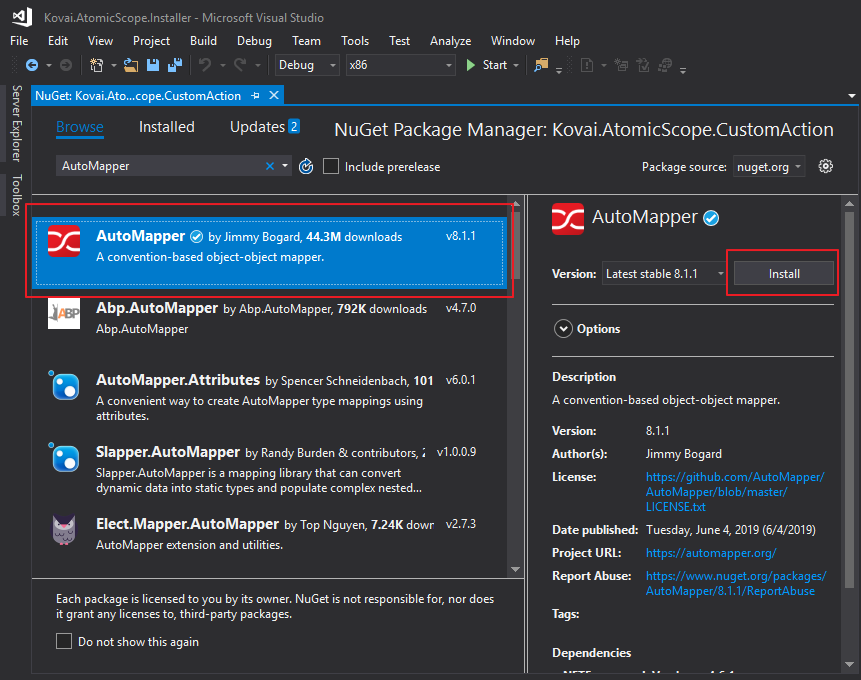
We will see how we can effectively use AutoMapper using Visual Studio 2019. Right-click on your project where you have to try this package and search for AutoMapper and click Install. It will install all the dependencies of this package into your respective .NET Project. Once this extension is installed you can use AutoMapper in two different ways such as,
- Configure AutoMapper and start off with mapping objects (or).
- Create Profiles and map all these profiles to AutoMapper config and start off with mapping objects
Configure AutoMapper and start off with Mapping objects
So I have created a project called AutoMapper in Visual Studio 2019 and I have installed AutoMapper package into this respective project. So first we are going to create a MapperConfiguration.
var config = new MapperConfiguration(config =>
{
     config.CreateMap<Source,Destination>();
}
On the above code, Source and Destination represents a model where Source can be a domain model and destination can be a view model or vice-versa. Once you have created the configuration, create the respective mapper instance like,
var mapper = config.CreateMapper();
And then say we have some values in the source model and if you have to map the values of source model to destination model, you can use the below command,
var destination = mapper.Map<Destination>(Source);
The above command will map the Source model values to the respective Destination model values.
AutoMapper using Profiles
To make use of this profile, create a class file such as DomainToViewMappingProfile.cs(any other name you want) which inherits the Profile class and here you can have all the mappings that need to be done in the respective project.
public class ViewToDomainModelMappingProfile : Profile
	{
		public ViewToDomainModelMappingProfile()
		{

			// Mapping Request to Command
			CreateMap<SaveBusinessProcess, CreateBusinessProcess>();
			CreateMap<BusinessTransaction, CreateBusinessTransaction>();
			CreateMap<Stage, CreateStage>();
			CreateMap<StageProperty, CreateStageProperty>();
			CreateMap<ReprocessConfig, CreateReprocessConfiguration>();
			CreateMap<SaveBusinessProcess, UpdateBusinessProcess>();
			CreateMap<BusinessTransaction, UpdateBusinessTransaction>();
			CreateMap<Stage, UpdateStage>();
			CreateMap<StageProperty, UpdateStageProperty>();
			CreateMap<ReprocessConfig, UpdateReprocessConfiguration>();
			CreateMap<UpdatePurgingConfig, PurgingConfig>();
         }
}
Once all these mappings are defined in a respective profile, you can configure your mapper like,
	var mapperConfiguration = new MapperConfiguration(config =>
			{
				config.AddProfile(new ViewToDomainModelMappingProfile());
			});
And now in this respective file, you can use all the mappings which are available in ViewToDomainModelMappingProfile.
Additional Cool things with AutoMapper
Objects need not be the same
If there are two different objects with different attributes you can map the values using MapFrom(). Let’s say we have two class User and UserEntity,
public class User
	{
		public Guid UserId { get; set; }
		public string UserName { get; set; }
		public string Address { get; set; }
	}

public class UserEntity
	{
		public Guid Id { get; set; }
		public string UserDetails { get; set; }
	}
If you want to map these two objects you can do as,
CreateMap<User, UserEntity>()
				.ForMember(d => d.Id, op => op.MapFrom(ex => ex.UserId))
				.ForMember(d => d.UserDetails, op => op.MapFrom(ex => JsonConvert.DeserializeObject(ex.UserName)));
Conditional Mapping
You can also map your objects based upon the condition. Let’s say we have the same two classes User and UserEntity and I have mapped the UserName to UserDetails only if it Contains Kovai.Co. So it can be done as,
        CreateMap<User, UserEntity>()
            .ForMember(d => d.Id, op => op.MapFrom(ex => ex.UserId))
            .ForMember(d => d.UserDetails, op => op.Condition(src => src.UserName.Contains("Kovai.Co")));
Null Substitution
It allows you to mention an alternate value to the destination if the source value is null.
CreateMap<Source, Dest>()
    .ForMember(destination => destination.Value, opt => opt.NullSubstitute("Any other values")));
These are some of the additional cool kinds of stuff that you can do with AutoMapper and there are a lot more to explore.
Conclusion
In this blog, we explored about AutoMapper and also we had a brief explanation of how it can be effectively used in our .NET Projects.
In our next blog, we will see how we can use AutoMapper using Dependency Injection. Stay Tuned!
Happy Coding! Cheers! 🙂